

We hope you have a wonderful Thanksgiving!
Just a reminder of our store hours for the week.

Welcome back everyone!
How much decision making goes into the style of quilting you choose for longarming your quilts? Do you have a tried-and-true style that is your automatic default? Or do you vary your quilting technique?
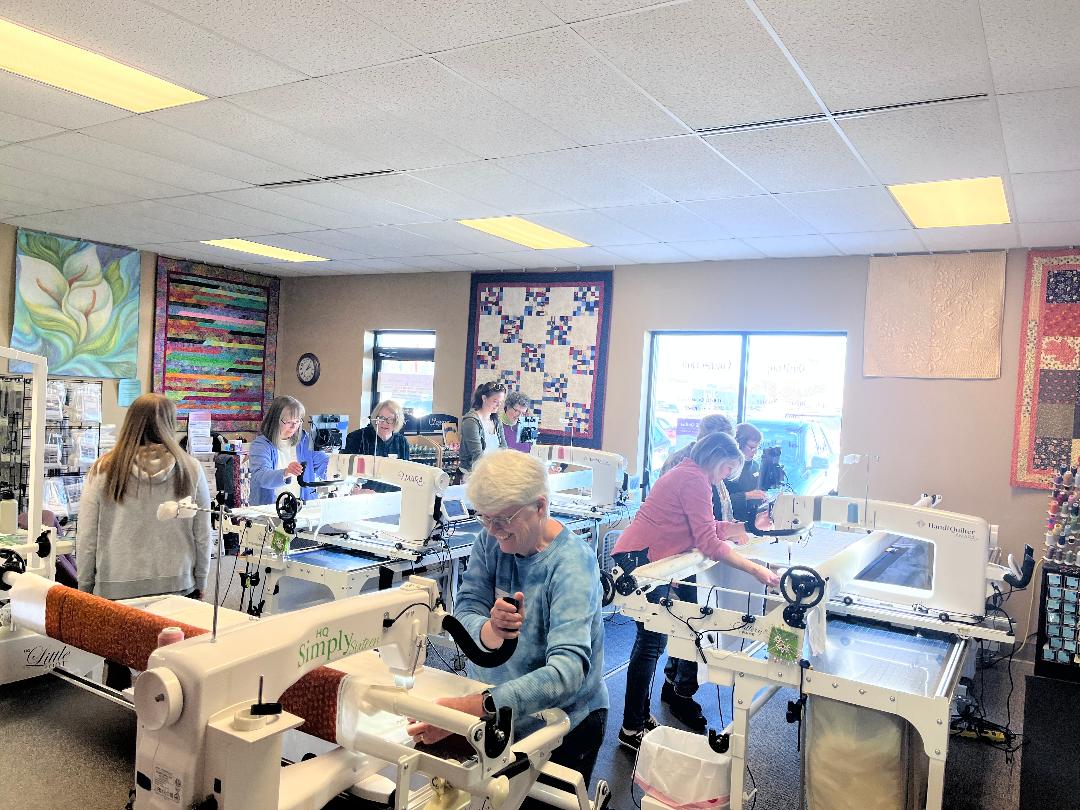
When we welcome new renters in our beginning longarm class, we introduce them to the three basic styles of longarm quilting: free-motion, pantograph and computerized.
When someone decides to purchase a Handi Quilter longarm from us, one of the first considerations is what type of quilting s/he wants to do.
So today, I thought we’d explore the three basic styles of quilting. We’ll look at how each style is done on the longarm, what additional accessories or equipment may be needed and some of the pros and cons of each style.
So, let’s start with …
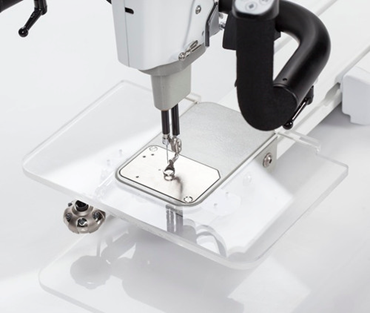
Free-motion longarm quilting
I’m starting with free-motion quilting because so many people begin machine quilting this way on their domestic machines. Often, the limitation of their machines’ throat space is what brings them in to look at longarms.
From that standpoint, free-motion quilting is fairly basic. You’ve got your three quilt layers (top, batting, back), and you’re sewing them together. Simple, right?
Moving to a longarm machine for your free-motion quilting gives you a couple of options.
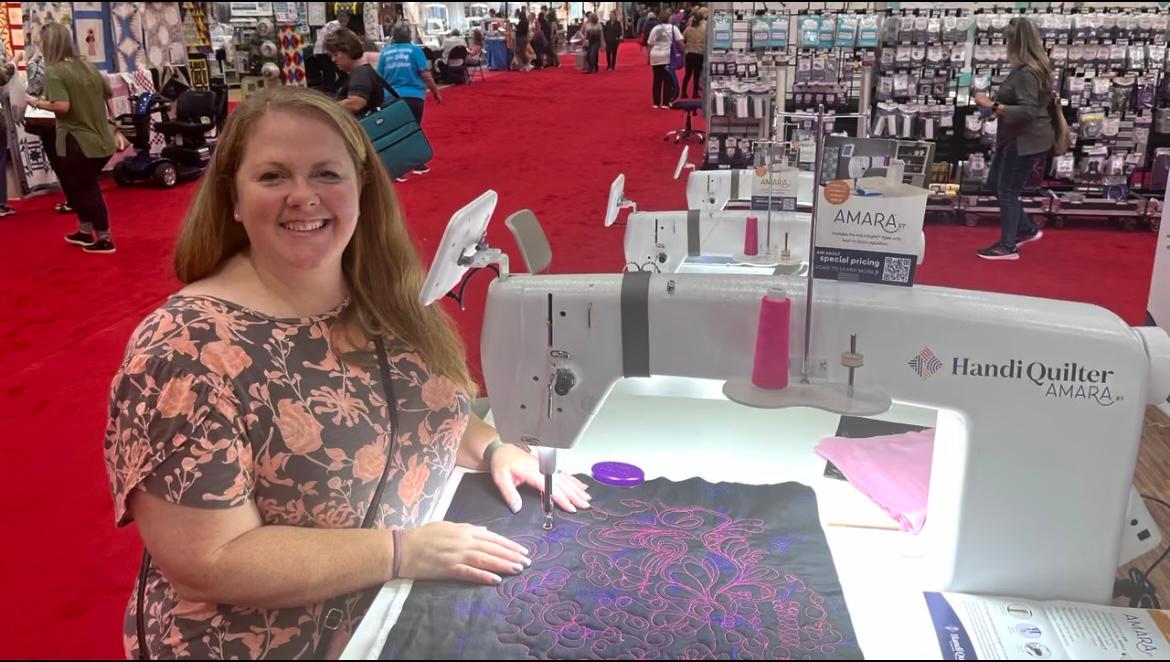
If you don’t have much floor space and love controlling the movement of your quilt with your hands, a stationary longarm may be your answer. This gives you more throat space for bigger quilts and some models allow you to sit or stand while quilting. (Check out the Handi Quilter Machines tab on our website.)
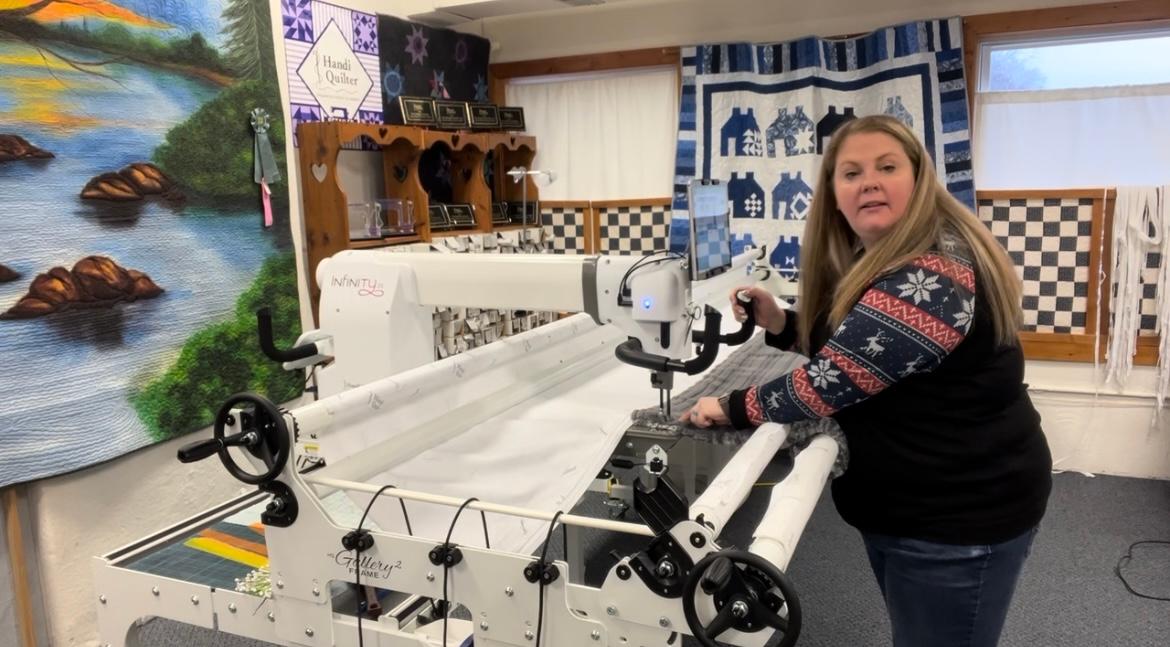
Free-motion quilting on a moveable longarm changes the process. Now your three quilt layers are stationary because they’re mounted on a frame, and you’re moving the machine. (I’ve shared specifics on the various Handi Quilter moveable longarms and frames in previous posts. You can explore the Handi Quilter Machines tab or the Our Blog tab on our website for details.)
Whether you are moving the fabric or the machine, you have several decisions to make before quilting.
- Start with a plan. What is the purpose of your quilt? What is your focus: the piecing or the quilting? How much time do you want to spend on the quilting?
- Audition your designs. Do they fit the quilt? Do they look right together? Is the size and density good? How will you move from one design or area to another?
- Choose your materials. What color and weight of thread will you use? What marking tools will work best?
- Select the best foot … or two. Are you quilting tiny designs and need your micro foot? Are you going to echo curves or straight lines and need your echo or square feet? (Explore the HQ Products Handi Feet tab on our website.)
If you are quilting with a moveable longarm, part of your planning process is considering how much of your quilt top you have access to before needing to advance or roll your quilt.
So actually, free-motion longarm quilting requires a complex skillset that takes time to build. Some of these tips may help.
- PRACTICE! PRACTICE! PRACTICE! For most quilters, free-motion isn’t as easy as it looks. Build your muscle memory by doing lots of doodling or tracing. You can draw on a whiteboard or in a notebook but focus on keeping your wrist off the surface (like when you’re quilting) and don’t lift your pen off the paper (because stitching is a continuous line).
- When practicing, whether on paper or with your machine, vocalize your process. This can be out loud or in your head but actually say/repeat the steps of what you’re doing.
- Pick a basic shape or two that you’re comfortable with to start. Practice that shape. Vary the size. Modify the shape and play with connections. Got it? Then add another shape. Develop a design library that fits you.
- Look ahead to where you’re going when quilting, not at the needle. And use a gentle touch … no death grip on the handlebars.
- Break your quilting down and tackle a small area at a time. Don’t overwhelm yourself!
- Relax! Breathe! Have fun!!!
Ruler work – another form of free-motion quilting
If you’d like to expand your free-motion skillset, consider adding ruler work.
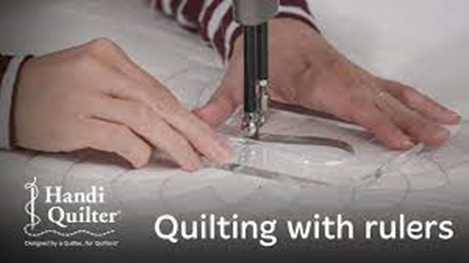
Many quilters like the precision that rulers add to their free-motion quilting. Rulers come in a multitude of shapes and sizes.
Again, start with two or three rulers, practice with them and learn what they can do, then add on. Learn where to place the ruler, where to place your hand on the ruler and how much pressure you need to hold the ruler in place.
A few additional pieces of equipment are needed to use rulers.
- First, you’ll need a taller foot that provides more safety when using rulers. (See the Sure Foot by going to HQ Products Handi Feet on our website.)
- You also need to make sure your rulers are made for longarm quilting and are the appropriate thickness.
- Finally, if you’re quilting on a moveable longarm, you need to add a ruler base. This adds the appropriate workspace to your machine, allowing you to hold your rulers flat. (See Rulers & Templates on our website.)
If you’re interested in exploring free-motion or ruler work quilting, or if you’d like to build your existing skillset, watch for our in-person free-motion and ruler classes! (See the Classes tab on our website.)
Not ready to try free-motion quilting? Prefer to follow a printed pattern? Then consider …
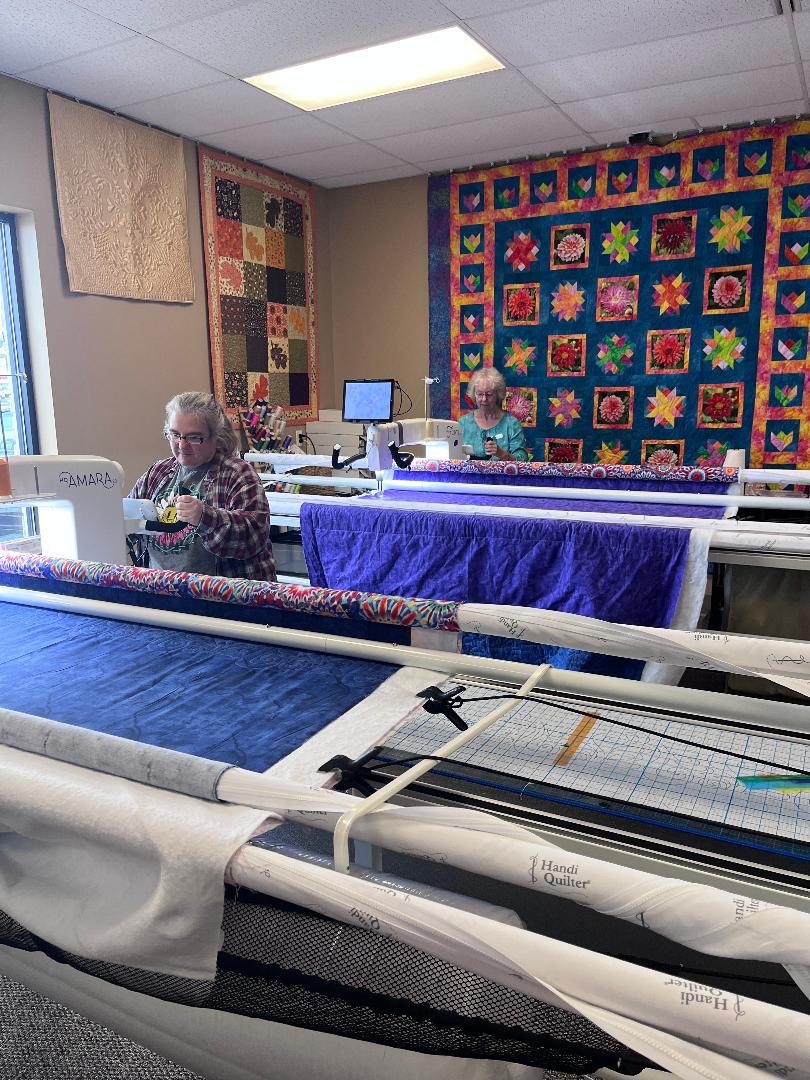
Pantograph quilting
A pantograph is a continuous line design printed on a long piece of paper that lies on a table on the backside of your longarm frame. When quilting, you use a second set of handlebars mounted on the backside of your machine to trace the quilt design with a laser light. On the other side of the frame, your machine is stitching the design on your quilt. You aren’t looking at the quilt; you’re focused on the paper pattern.
While you are ‘simply’ following a pattern with this
style of quilting, it still takes some practice to become proficient. First,
you need to learn how to sync the pattern with your quilt top for its initial
setup and then when advancing the quilt. It also takes time to discover your rhythm
for moving the machine and your feet.
Because you’re following a paper pattern with pantograph quilting, you can’t change the size of the design. And you’ll have to make sure you purchase designs that fit the throat space of your machine and your back table.
From a machine perspective, your only option for pantograph quilting is a moveable longarm. To learn more about the back of machine equipment needed for this style of quilting, checkout the Quilt From the Back kits on our HQ Products tab on our website.
Okay. If you feel pantograph quilting is too restrictive and free-motion quilting just isn’t you. May I suggest …
Computerized quilting
When you hear me talking about the Pro-Stitcher, I’m referring to Handi Quilter’s version of computerized quilting. And it opens your quilting to endless possibilities!
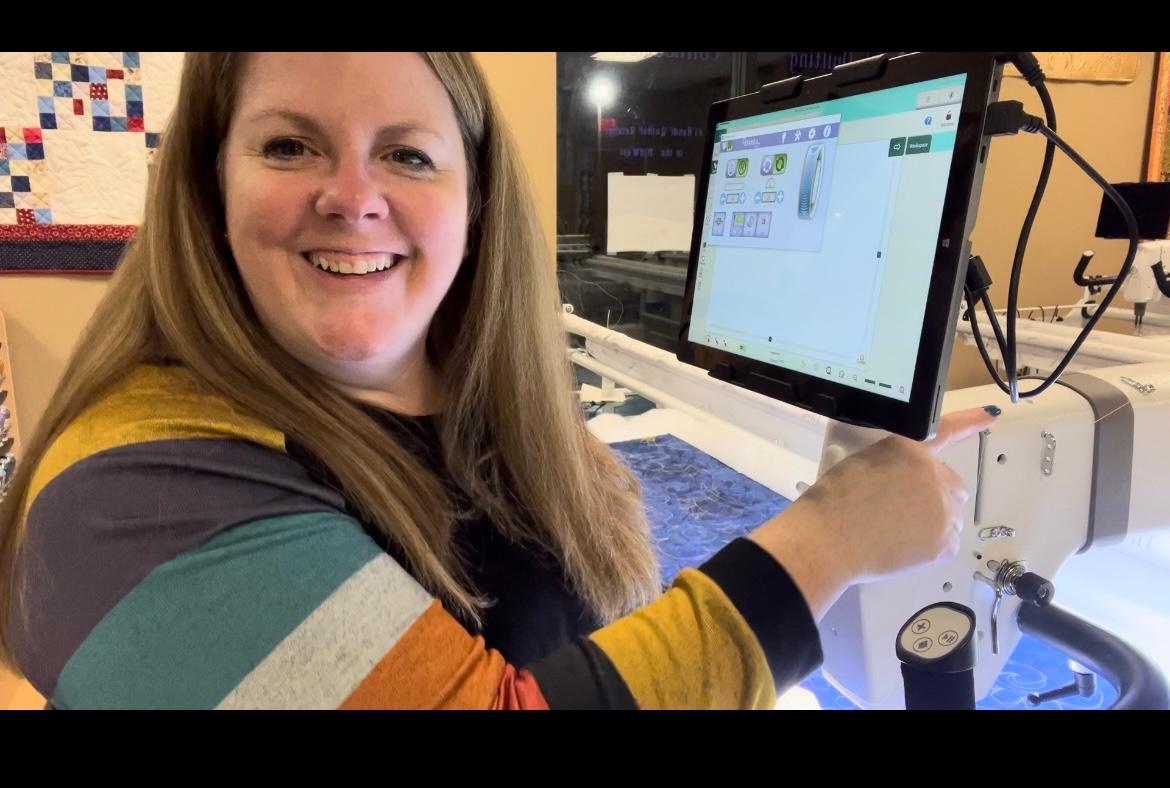
The Pro-Stitcher is specially designed quilting software that is loaded on a tablet and attached to your longarm machine. This integrated system uses a track that is installed on the back table of your frame to move the machine, allowing the computer to guide your longarm as it stitches out the designs you’ve selected.
One of Pro-Stitcher’s most basic capabilities is allowing you to do perfect edge-to-edge quilting. You can pick from thousands of designs, size the design to match your quilt and your machine’s throat space, and repeat and crop the design to exactly meet your quilt top’s size.
But you can do SO much more! Here’s just a small sampling. You can:
- custom quilt using the Pro-Stitcher on a block-by-block / section-by-section basis,
- block out spaces that you don’t want quilted, such as an applique or photo,
- quilt unusually shaped tops (tree skirts, table runners, placemats etc.)
- modify or crop out pieces of existing designs to create your own designs, or
- create your own digitized quilting designs with Pro-Stitcher Designer.
With everything I just mentioned, you can understand that there’s a learning curve for using the Pro-Stitcher just as there is with free-motion quilting. You’re learning all the computer’s features and how they integrate. It’s an equally complex, yet different skillset.
And remember, if you buy a machine with the Pro-Stitcher, we include extensive training on all the computerized quilting options available to you. In fact, because we cover so much material, owners that buy their machines through us are invited to retake this training for free.
Not surprisingly, all of this comes at a cost. The Pro-Stitcher is an expensive addition, but the possibilities are endless!
So, do you have a favorite style of quilting? Or do you like the variety of using all three styles from time to time? Let me know! Share your stories and learning experiences!
As always, if you have ANY questions or want additional information about the products and services we offer, please call us at (262) 723-6775 or email us at info@QuiltingConnection.com.
You can also visit us online at QuiltingConnection.com or in person at 21 Adams Street in Elkhorn, WI (usually M-F 9-4, please call to confirm we’re open) or 1017 W. Northland in Appleton, WI (W, Th & F 10-4, S 10-3).
Finally, check out our blog at QuiltingConnection.com/blog and our Facebook posts.
Please share your thoughts and questions with us. We love to hear from you!
Angie